
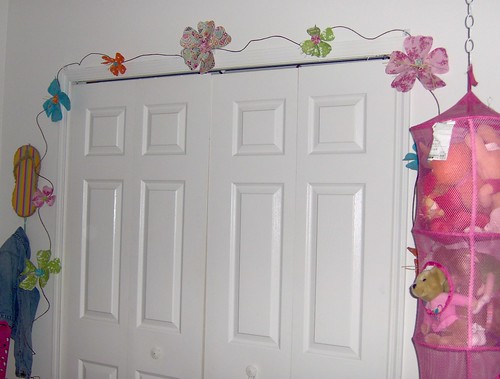
and a quick tutorial on how too. I spent about $5 on mine I had most of the materials except for raffia and some decorative wire to attach the flowers too.
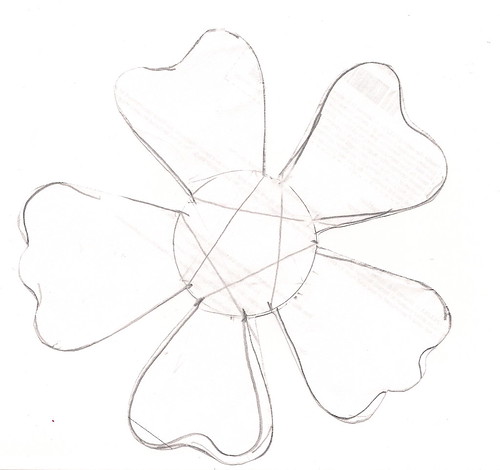
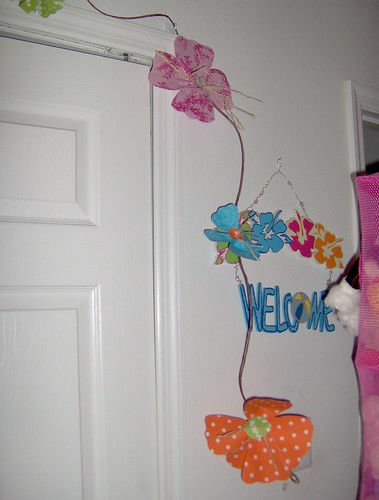
I copied the pattern I made you can make it as big or small as you like I did a small and a large flower in each color fabric that I had.
Items you will need:
Fabric of your choice (I can't say how much it depends on what size you make mine all came from my scrap stash)
Stiff Fusible Interfacing
Small hole punch
Sewing Needle
Coordinating thread
Raffia
Decorative Wire
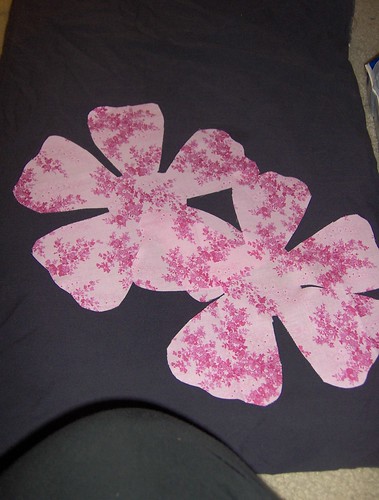
1. Cut two hibiscus flowers from fabric and one of interfacing. You will also want to cut fabric for the center of the flowers, I used a coordinating fabric and cut with pinking shears.
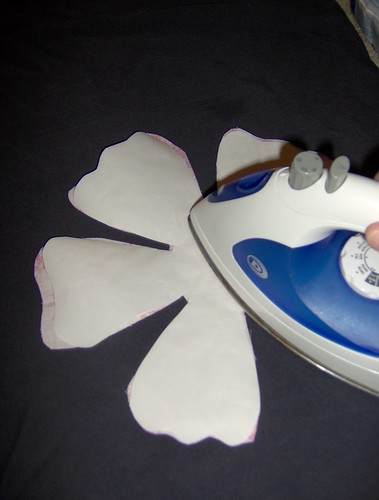
2. Iron the three pieces together (follow interfacing instructions).
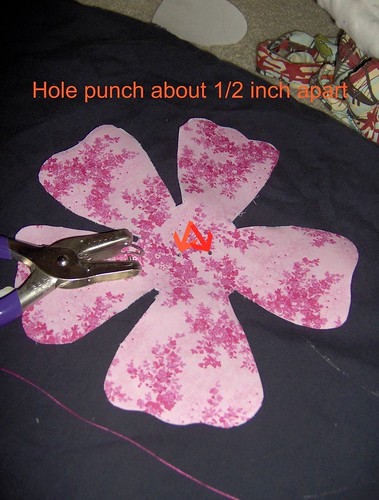
3. Punch two holes near the center of the flower. And two holes the same width apart on the flower center piece.
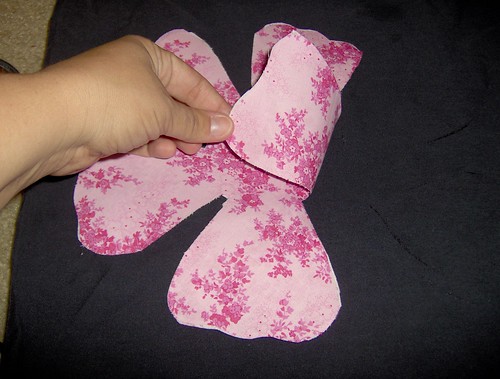
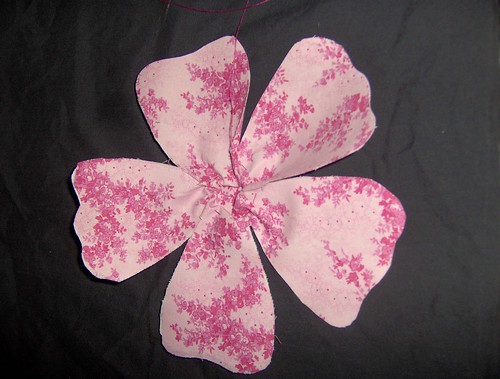
4. Next you will need to sew a large running stitch around the center circle of the flower then pull to gather the flower and tie off.
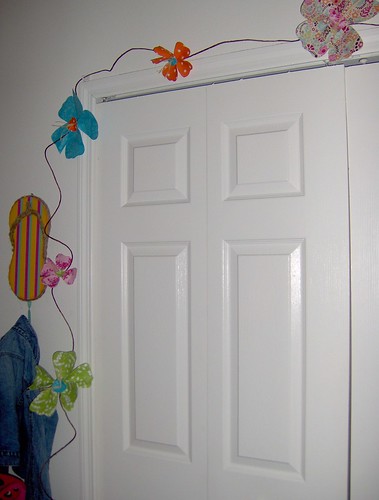
5. Then I used a large plastic crochet needle and thread the raffia through the flower and center circle and onto the decorative wire and tied it tight with a knot. Once it is tied on I frayed the raffia a bit and adjusted the petals.
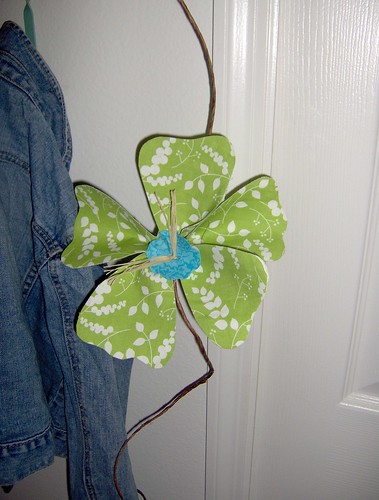
Then repeat with each flower until you have a garland the length you want. You can also add some hot glue to the back to keep the flowers from moving down the wire when you have them all were you want them.
No comments:
Post a Comment